Selecting the proper White Balance
Take your camera outside during daylight and photograph the same scene using different white-balance settings. Move indoors and repeat the exercise with shooting in a tungsten-lighting environment. Finally, find a fluorescent light source and repeat one more time. Pay close attention to how each setting affects the overall colour cast of your images in different lighting environments and write down your findings.
Outside
Outside I used my dog “Storm” as the subject. He is a Nova Scotia Duck Tolling Retriever, or a “Toller”. I was surprised at how the different white balance settings change the whole colour in the image. This was something I wasn’t aware of, and I learned a lot from this task.
White balance setting: Cloudy


White balance setting: tungsten lighting


White balance setting: fluorescent light


Inside (fluorescent light)
Fortunately, our garage has got quite new fluorescent light inside so that I got the photos taken in the right light source. I used a stack of fire wood as the photo motive, as that was the only thing in the garage that was “photo worthy”.
White balance setting: Cloudy


White balance setting: Fluorescent light


White balance setting: tungsten-lighting


Inside (tungsten-lighting)
For the tungsten-lighting I took the pictures inside in my living room, where I have light sources with a warm colour. I chose my advent stake as a photo motive with the advent star in the window in the background. It was interesting to see how the setting I used outside (cloudy) didn’t work inside as the photo got way to warm colour tones. I tried a white balance setting that I unfortunately didnt try on the other ones, the Auto-setting. I found that the Auto-setting worked the best inside.
White balance setting: Tungsten-lighting


White balance setting: Fluorescent light


White balance setting: Cloudy


White balance setting: Auto


Experimenting with Focus Mode
Change your camera settings so that you are focusing using the Single-Point focus mode. Try using all of the different focus points to see how they work in focusing your scene. Then set your focus mode to AF-S and practice focusing on a stationary subject and then recomposing before actually taking the picture. Try doing this with subjects at varying distances. Lastly, change your focus mode from autofocus to manual focus and practice a little manual-focus photography. Get familiar with where the focus ring is and how to use it to achieve sharp images. Write down what you learned from the different focus modes.
Single-Point focus mode
Here, the focus point is ca in the middle of the image, focusing on the end of the wooden plank.

Here, the focus point is a little bit over the middle of the image, focusing on the forest in the background. I thought it was interesting to see that the foreground gets completely blurry with this setting.

Here, the focus point is a below the middle of the image, focusing on the part of the wooden plank that is nearer to the camera. The forest in the background becomes very blurry.

I took my phone and filmed the camera while I captured these images. In the video you can see where I put the different focus points. As you probably can hear, the shutter speed is pretty slow and that is because it doesn’t get so bright outside now because I live north of the arctic circle which mean that I don’t see the sun until earliest in the end of January.
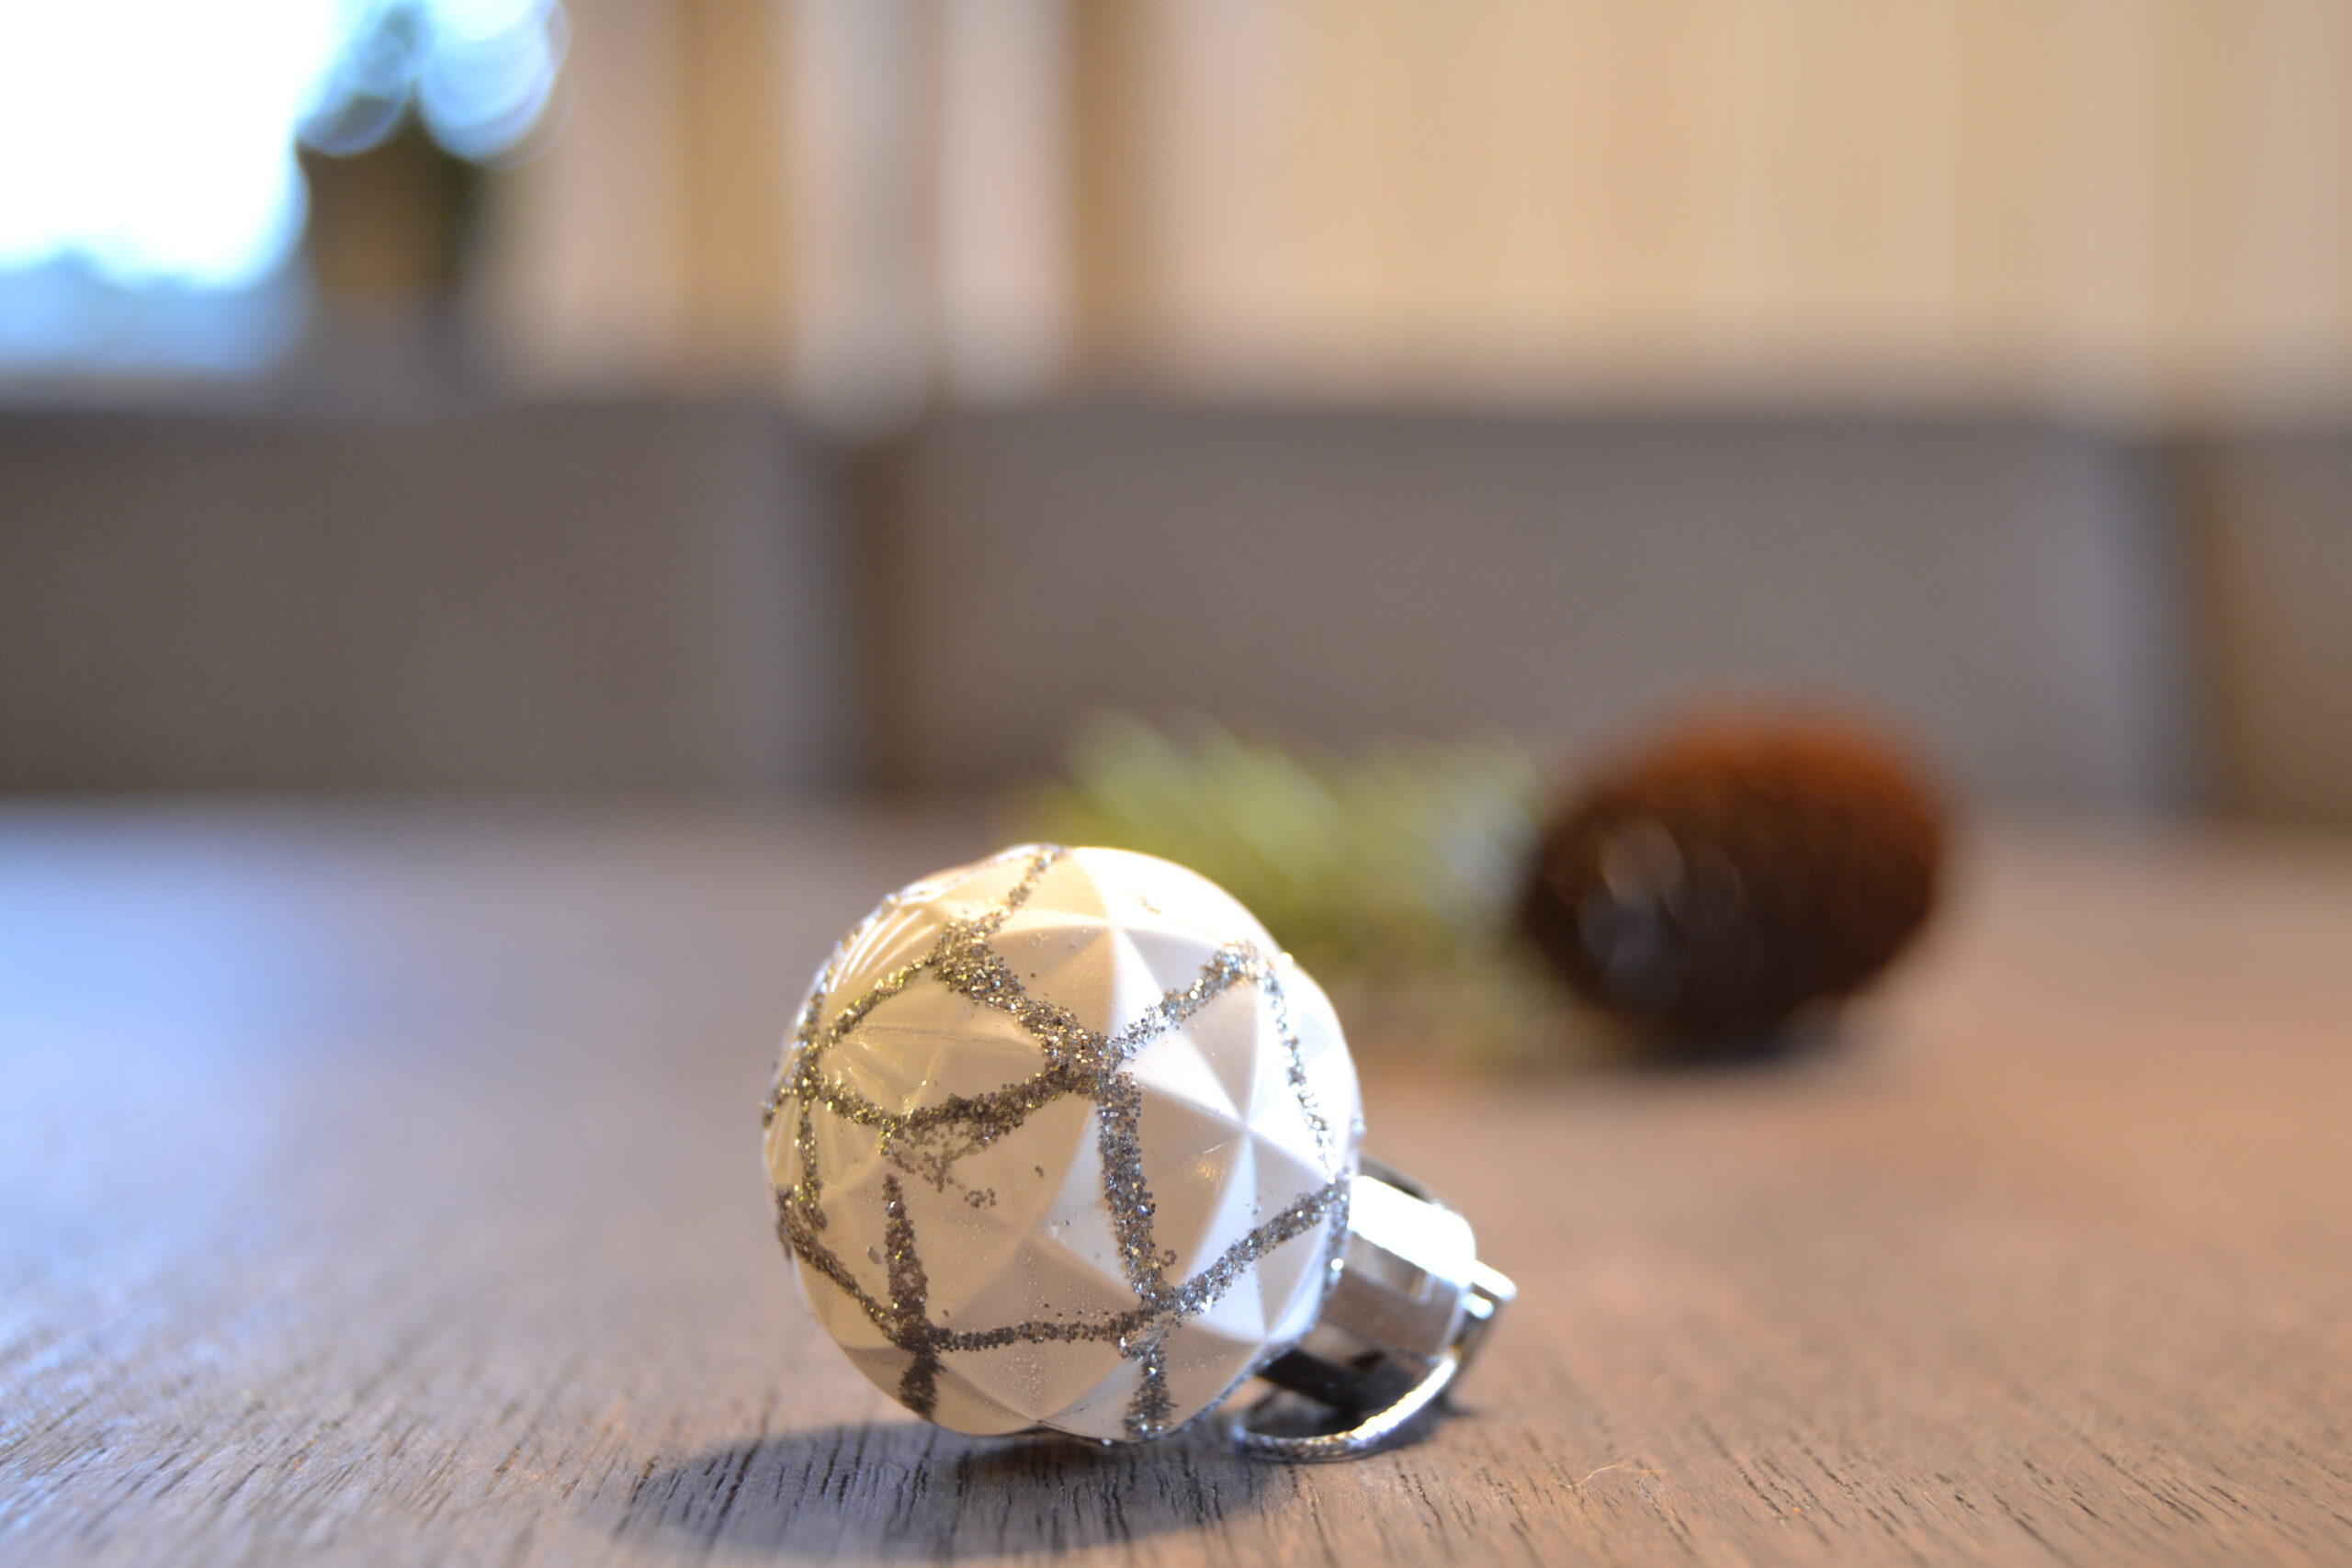
AF-S
As a subject for this task, I chose some Christmas decorations that I had lying around. I chose to move the white Christmas ornament and leave the pine cone and the pine needle to show where the focus was pointed at originally. In the first picture, the white ornament is near the camera and the focus point is on the ornament.

In the second picture, I focused on the white ornament as in the first picture but moved the ornament before taking the picture. I set my camera to timer mode, so that I had time to move the ornament as the camera counted down. As you can see, the camera is still focusing on the foreground where the ornament was.

Here, I focused on the three objects, placed in the middle.

I did the same thing as I did in picture number two, only the opposite way. I moved the ornament forward to the foreground with the camera still focusing on the objects in the back.

Manual focus mode
The manual focus mode was a little bit tricky. I think I found out how it worked, simply by moving the camera forward or backward until the subject was in focus. But this is a setting that I have to practice more on. Here is a picture in manual focus mode.